Powered By Blogger
"The secret of good teaching is to regard the child's intelligence as a fertile field in which seeds may be sown, to grow under the heat of flaming imagination."

--Dr. Maria Montessori


Showing posts with label art. Show all posts

Monday, January 9, 2012

Make & Take Monday

Snowflake

Place a doily on a paper plate. Use a sponge to sponge-paint over the doily with blue paint. After covering the whole plate, remove the doily to see the snowflake design.
Winter Theme
Taken from PreKinders

Monday, May 23, 2011

Make & Take Monday

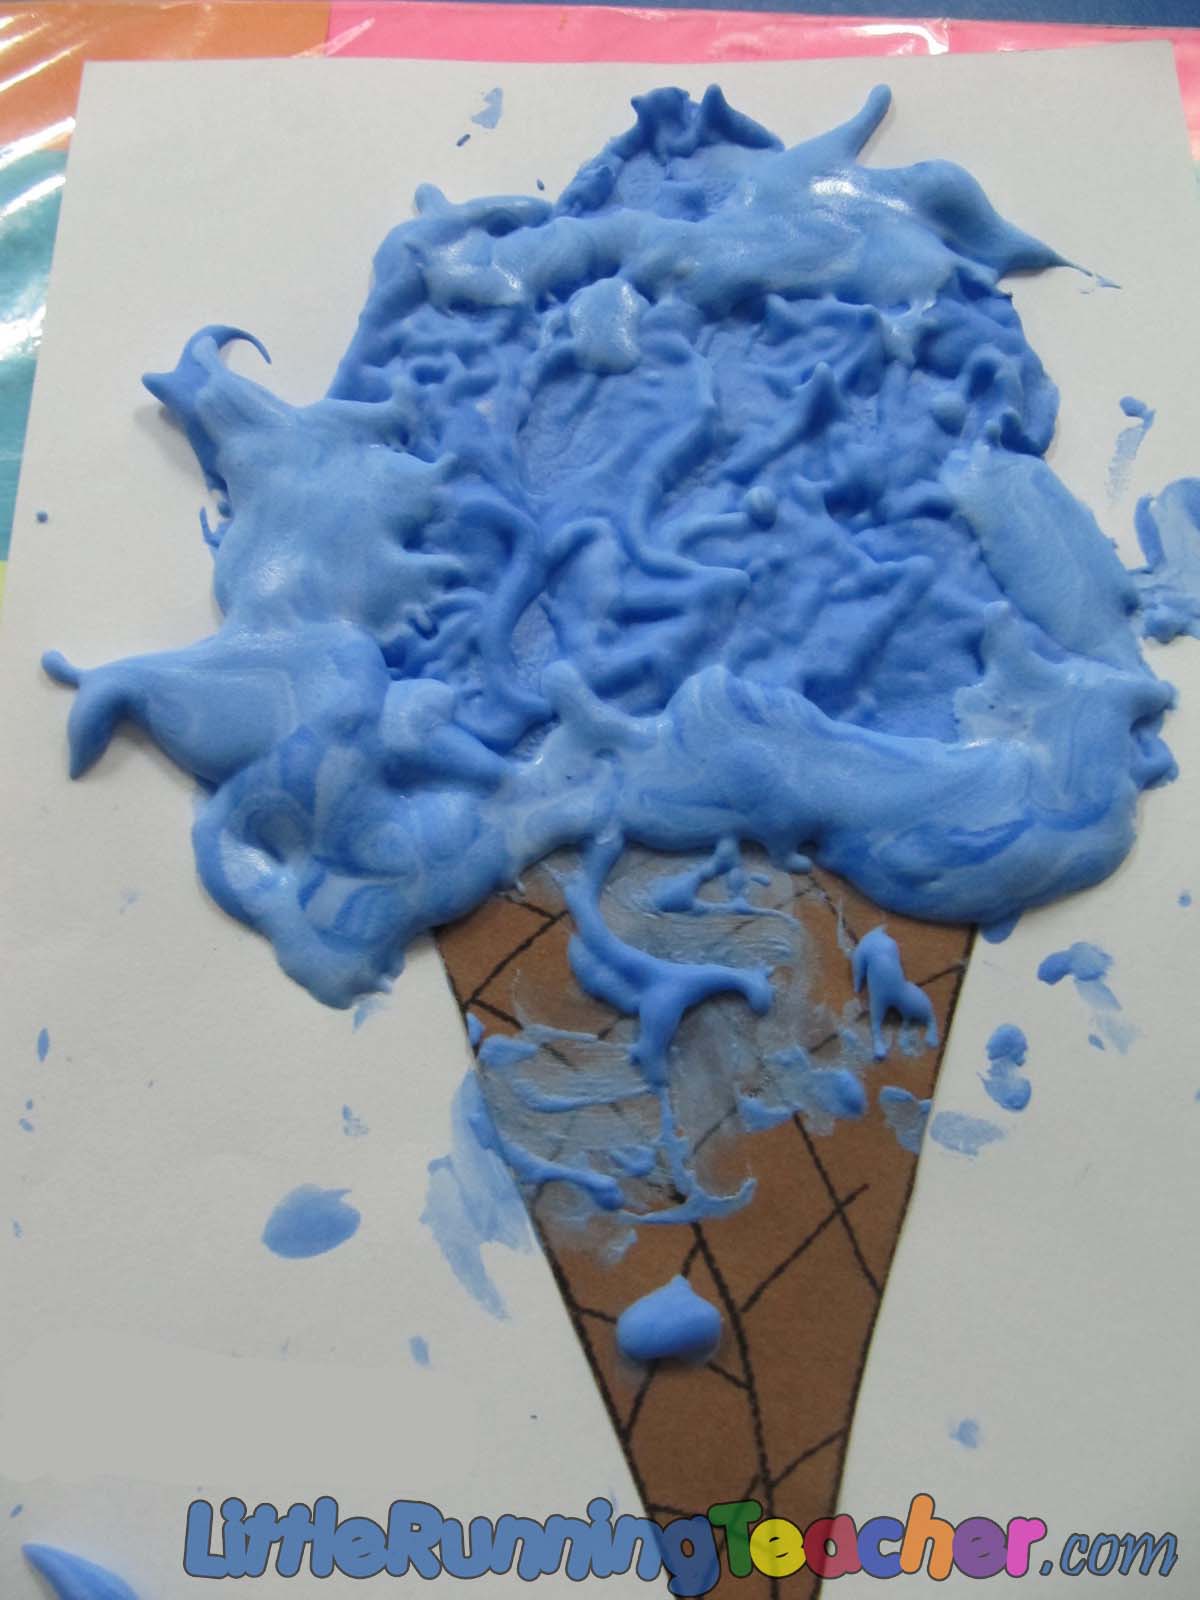
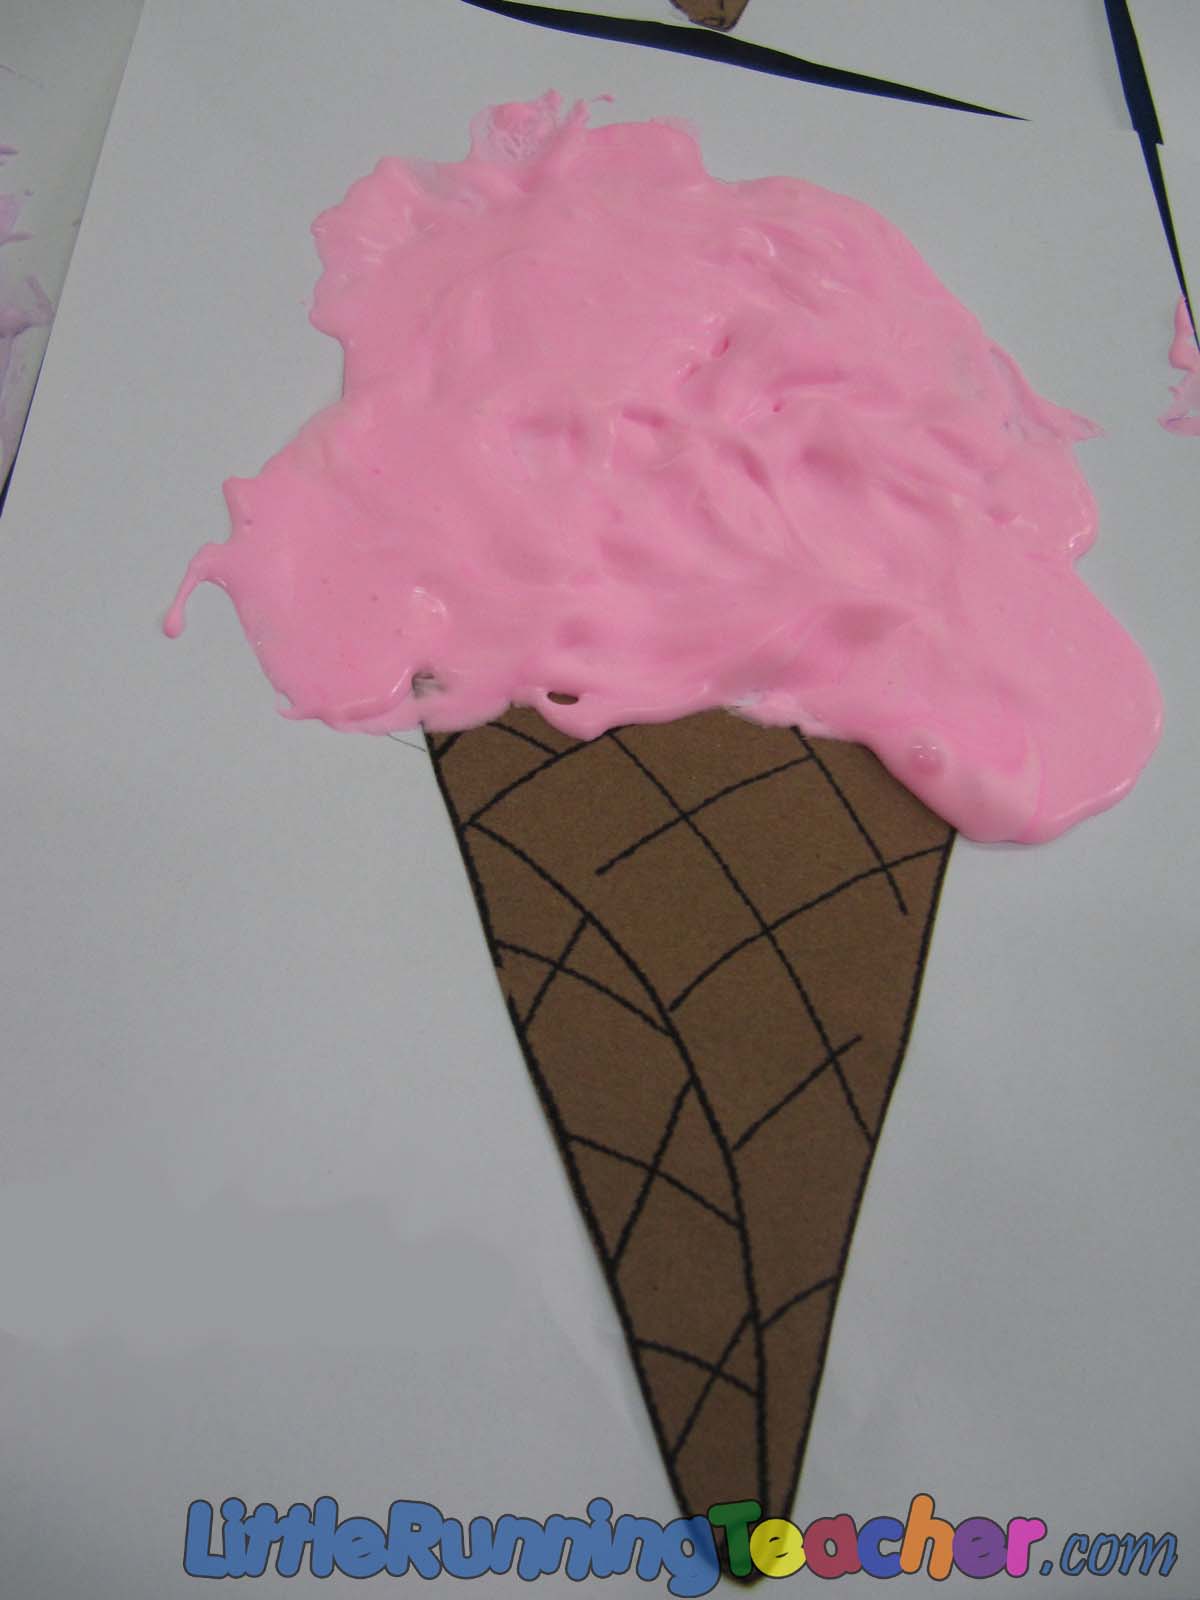
Puffy Ice Cream Art

Materials:
  • Shaving Cream
  • Glue
  • Hard paper (Oslo paper/Easel board paper)
  • Small cup
  • Popsicle stick
  • Brown Paper or Brown Crayon
  • Paint of various colors
  • White paint
Directions:
Step 1: Mix a little white to make the color a little bit more “creamy”. Also prepare some paper cones for the kids. If you do not have any brown paper, you can let the kids just draw/color the cones themselves.
Step 2: Spray the shaving cream  For those kids who can, it would be better to let them press it themselves.
Step 3: Pour the glue. There isn’t really an exact amount as to how much you should put - equal amounts of glue and shaving cream.
Step 4: Let the kids pick a color/flavor! Drop some “flavor” into the cup.
Step 5: Let the kids mix away!
Step 6: Let them use their hands and spread the cream unto the paper. It’s really tons of fun to see their reaction from the unique texture.
Step 7: It takes around 2-3 days to properly dry

Don’t they look so real and yummy? Don’t be tempted to eat them or you’re in for a tummy ache!
Taken from Little Running Teacher

Monday, May 9, 2011

Make & Take Monday

Sidewalk Paint

Now that it is warm, get outisde and PAINT! Try this simple, fun sidewalk paint.

The recipe for this paint couldn’t be simpler: 1/4 cup cornstarch mixed with 1/4 cup of water and some food coloring. Super simple and tons of fun! When the paint dries it looks just like it would if it was drawn with sidewalk chalk and it washes away with water!

Taken from Moments of Mommyhood


Wednesday, May 4, 2011

Workshop Wednesday

Balloon Prints

Materials: balloon(s), a piece of paper, and paint

Directions:
1. Pour some paint on a plate. Blow up a balloon.
 (If you use more than one color use different balloons and plates. You can use the same balloon if you want the children to mix colors.)
2. Have the child dip the balloon into the paint and press it on the paper.
3. Continue until you have a "picture".

Examples of Balloon Print Caterpillars

Taken from Moments of Mommyhood


Monday, May 2, 2011

Make & Take Monday

I am back after a busy, but fun, spring break! Today's post is DIY Paintbrushes!

Homemade Paintbrushes

Materials: Pipe Cleaners, Rubber Bands, Yarn, Craft Foam, Sponges, Wooden Clothespins, Old Toothbrushes, Wooden dowels, Cardboard Scraps, Etc.

Directions:
1. Gather your materials.
2. Cut up and rubber band different materials to the wooden handles to make "brushes".

Let loose and enjoy painting with different textures and materials. The kids will LOVE it!

Taken from Pink and Green Mama